
A radio thermostat is a wireless device that regulates temperature via radio frequency, offering remote control and energy efficiency․ It enhances comfort and convenience in heating systems․
1․1 What is a Radio Thermostat?
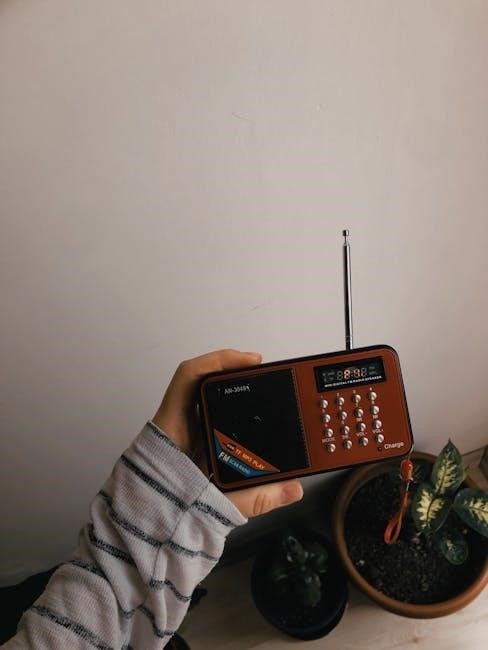
A radio thermostat is a wireless device designed to regulate temperature settings in a space․ It operates via radio frequency signals, eliminating the need for wired connections․ These thermostats are battery-powered and communicate with heating systems to adjust temperatures based on set parameters․ They are ideal for controlling various heating installations and offer precise temperature management․ Unlike traditional thermostats, radio thermostats provide flexibility and convenience, allowing users to adjust settings remotely․ They are often programmable, enabling users to set schedules and optimize energy usage․ This technology enhances comfort and efficiency, making it a modern solution for smart home heating systems․
1․2 Benefits of Using a Radio Thermostat
Using a radio thermostat offers numerous benefits, including enhanced convenience, energy efficiency, and cost savings․ These devices allow for wireless control, eliminating the need for complex wiring, making installation simpler and faster․ They provide precise temperature regulation, which can improve comfort levels while reducing energy consumption․ Many radio thermostats are programmable, enabling users to set schedules that align with their daily routines, further optimizing energy use․ Additionally, remote access via smartphones or other devices adds flexibility, allowing adjustments from anywhere․ This modern solution is ideal for homeowners seeking to modernize their heating systems and reduce utility bills without compromising comfort․ It’s a practical choice for smart home upgrades․

Installation and Setup
Mount the thermostat on the wall using screws, ensure it’s level, and connect the radio module․ Power it on and follow on-screen instructions for setup․
2․1 Preparing for Installation
Before installing your radio thermostat, ensure you have a clear understanding of your heating system․ Check compatibility with your HVAC setup and gather necessary tools․ Choose a stable location for the device, ensuring it’s level and away from direct sunlight or drafts․ Verify that the thermostat is fully charged or has fresh batteries if required․ Review the manual to understand specific installation requirements, such as the need for a C-wire or additional modules․ Ensure the radio frequency matches your system’s specifications․ Finally, turn off your heating system and power supply before starting the installation process to avoid any electrical hazards․
2․2 Step-by-Step Installation Guide
Begin by attaching the receiver to your heating system’s control unit․ Mount the radio thermostat on the wall at eye level, ensuring it’s plumb․ Connect the wires from the receiver to the heating system, following the color-coded guide․ Insert the batteries into the thermostat or connect it to the power source․ Power up and sync the thermostat with the receiver using the pairing button․ Test the system by adjusting the temperature to ensure proper function․ Finally, program your preferred settings and schedules․ Always refer to the manual for specific wiring diagrams and safety precautions․
Using the Radio Thermostat
Using a radio thermostat is straightforward․ Adjust settings via the user-friendly interface or remote app․ It ensures precise temperature control and efficient energy management effortlessly․
3․1 Basic Operations and Controls
Operating a radio thermostat involves navigating its intuitive interface, typically featuring a touchscreen or physical buttons․ Users can switch modes (Heat, Cool, Off) and adjust temperature settings directly․ The device displays current and target temperatures, while some models offer remote access via apps․ Basic controls include adjusting the setpoint, toggling between manual and schedule modes, and enabling energy-saving features․ The thermostat learns your preferences over time to optimize comfort and efficiency․ Ensure the device is properly powered and connected to your heating system for seamless operation․ Refer to the manual for specific button functions and menu navigation, as designs may vary․
3․2 Setting Temperature and Schedules
Setting the temperature and schedules on a radio thermostat is straightforward․ Users can manually adjust the setpoint or program schedules for up to 7 days․ Many models allow remote adjustments via smartphone apps, ensuring convenience․ Schedules can be customized to align with daily routines, optimizing energy use․ Some thermostats feature geofencing, automatically adjusting temperatures based on your location․ Energy-saving modes can be enabled to reduce consumption during off-peak hours․ Ensure the device is connected to your heating system and powered correctly for accurate temperature control․ Refer to the manual for specific scheduling options and advanced features like adaptive recovery, which learns your system’s response to temperature changes․

Programming and Customization
Program your radio thermostat with custom schedules, geofencing, and energy-saving modes․ Adjust settings via apps or manual controls for personalized comfort and efficiency․
4․1 Understanding Programming Options
Radio thermostats offer diverse programming options to suit your lifestyle․ You can set 7-day schedules, customize temperature settings, and enable geofencing for location-based control․ Advanced models allow smart recovery, learning your preferences over time․ Remote access via apps enables adjustments from anywhere․ Energy-saving modes and vacation settings further enhance efficiency․ Programming can be done manually or through voice assistants like Alexa․ Some thermostats also support zoned systems, ensuring personalized comfort in different areas․ Understanding these options helps maximize convenience and energy savings, making your home smarter and more comfortable․
4․2 Advanced Features and Settings
Advanced features of radio thermostats include geofencing, smart recovery, and voice control through platforms like Alexa․ These thermostats can integrate with smart home systems, enabling seamless control․ Energy reports and usage analytics help optimize heating․ humidity sensors ensure balanced indoor conditions․ Adaptive algorithms learn your preferences, adjusting temperatures automatically․ Some models support multi-stage heating and cooling, while others offer remote sensor connectivity․ These features enhance efficiency, comfort, and customization, making them ideal for modern smart homes․ Properly configuring these settings ensures optimal performance and energy savings, tailored to your specific needs and environment․

Troubleshooting Common Issues
Common issues include connectivity problems, inaccurate temperature readings, and power failures․ Check radio signal strength, ensure proper installation, and restart the thermostat to resolve these issues effectively․
5․1 Diagnosing Connection Problems
Connection issues with radio thermostats often arise from weak signal strength, interference, or improper installation․ Ensure the thermostat is within range of the receiver and free from obstructions like walls or furniture․ Check for firmware updates, as outdated software can disrupt communication․ Verify that batteries are not depleted, especially in wireless models․ If issues persist, restart the system or reset the thermostat to factory settings․ For models like the CT50 or RT510RF, consult the manual for specific troubleshooting steps, such as checking error codes or re-pairing the device․ Physical damage or malfunctioning components may require professional assistance or replacement parts․
5․2 Resolving Temperature Control Issues
Temperature control problems in radio thermostats can stem from incorrect settings or sensor malfunctions․ Check if the thermostat is set to the correct mode (heating/cooling) and ensure the temperature setpoint is accurate․ Calibrate the sensor if necessary, as described in models like the CT100․ Verify that schedules are properly programmed and that there are no conflicts․ For issues like oscillating temperatures, adjust the cycle rate or differential settings․ If the thermostat isn’t responding, ensure it’s powered on and that the C-wire is correctly connected․ Refer to manuals for specific models, such as the RT510RF, for troubleshooting steps like resetting the device or checking for software updates․